
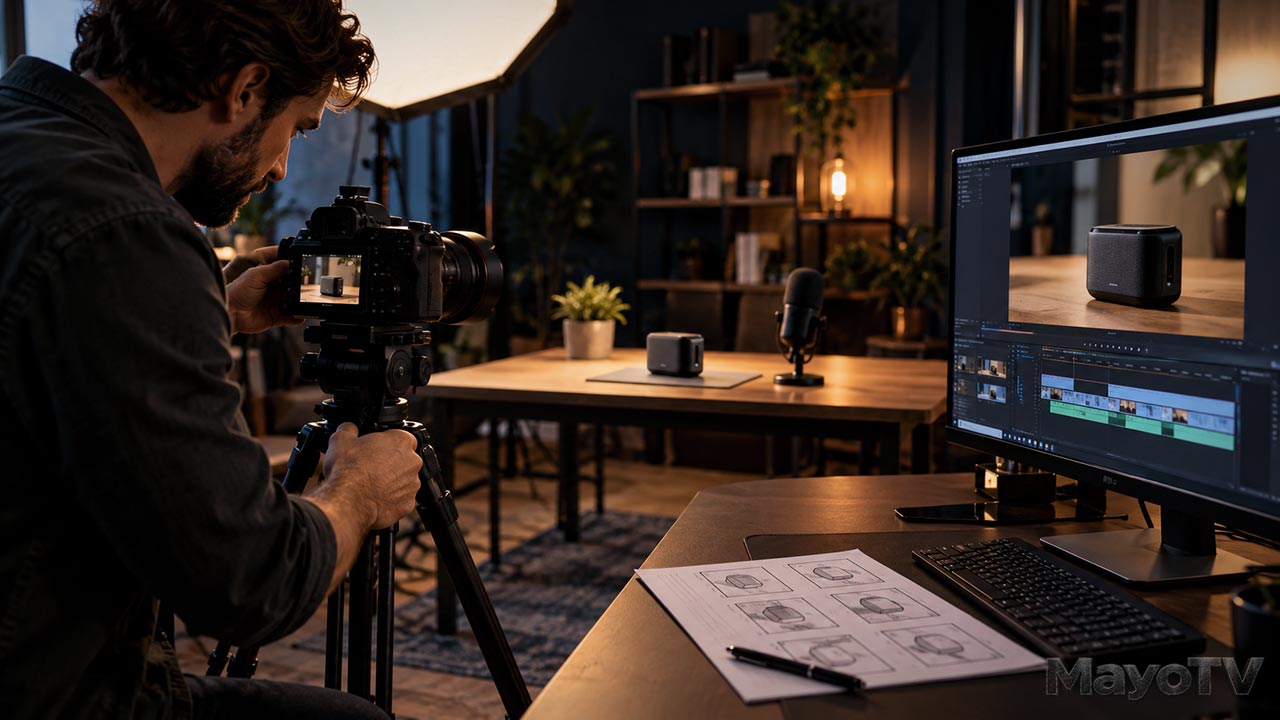
Video production connects planning, recording, and editing to bring an idea to the screen.
Video Production: From Idea to Screen
A good video begins with something worth sharing: a useful explanation, an interesting person, a story, or an idea that makes someone curious. Video production is the process of turning that starting point into something an audience can watch, understand, and enjoy.
That process includes planning, recording, editing, and preparing the finished work for release. A camera captures the images, but the production decisions give those images purpose. What should viewers notice? What do they need to hear? Which details help the story move forward?
For independent media producers, these decisions often happen in a home studio, a small workspace, or on location with a modest crew. One person may handle several jobs. The challenge is to create a practical workflow that supports the idea, fits the available resources, and produces work worth watching.
At MayoTV, video production connects our original projects and creative experiments with the work behind the screen. This pillar explores how videos take shape, from the first production plan to the final viewing experience.
Explore This Guide
- What video production includes
- Planning your production
- Recording pictures and sound
- Editing and finishing
- Preparing for release
- Building a repeatable workflow
- Frequently asked questions
What Video Production Includes
Most projects move through three connected stages:
Pre-production is the planning stage. You develop the idea, define the audience, prepare a script or outline, organize the shoot, and make decisions about people, locations, equipment, and budget.
Production is the recording stage. You capture the performances, interviews, demonstrations, pictures, and sound that the project needs.
Post-production is the finishing stage. You organize the material, edit the story, refine the sound and images, add necessary graphics, and export the finished video.
Each stage affects the next. A clear shot list helps you record what the edit needs. Clean dialogue reduces repair work. Organized files make footage easier to find. Good production comes from connecting these decisions rather than treating them as separate tasks.
Planning Your Production
Start with three questions: Who is this for? What should they get from watching? What kind of video will deliver that experience?
A tutorial needs a clear sequence and visible steps. An interview needs thoughtful questions and room for unexpected answers. A short documentary needs a central question, relevant people, and material that supports the story.
Turn those answers into a script, outline, or interview plan. Then identify what you must record. For a technology demonstration, that might mean a presenter introduction, close-ups of the device, the process in action, and a final explanation of the result.
Before the shoot, prepare:
- A shot list covering the essential pictures.
- A schedule with time for setup and retakes.
- A check of the recording space, background, and noise.
- Charged batteries, available storage, and working equipment.
- A plan for organizing footage and making backups.
- A record of permissions and licensed assets the project needs.
Keep the plan realistic. A simple production you can complete gives you more to build on than an ambitious one that never reaches the screen.
Recording Pictures and Sound
Choose equipment around the project. A phone may be suitable for a straightforward demonstration. A dedicated camera may help when you need particular lenses, longer recording sessions, or more control over the image.
Whatever you use, check the fundamentals. Keep the subject in focus, set exposure so important details remain visible, and stabilize the camera when movement serves no purpose. Look around the frame for distractions before recording.
Lighting should help viewers see the subject and understand the scene. In a small studio, a carefully positioned light and a controlled background can make the setup easier to repeat. Check for unwanted shadows, glare, and changes in daylight between takes.
Sound deserves its own preparation. Place the microphone close enough for clear speech, listen through headphones, and record a short test. Check for room echo, fans, traffic, and clothing noise. Hearing a problem during setup is much easier than discovering it after the shoot.
Record supporting shots, too. Close-ups, process details, and views of the surroundings give the editor useful ways to explain an action and connect scenes.
Editing and Finishing
Editing turns recorded material into a viewing experience. Begin by finding the strongest takes and building a clear sequence. Remove repetition, confusing explanations, and pauses that do not contribute to the intended mood or meaning.
Pacing depends on the project. A demonstration may need time for viewers to follow a movement. A tense scene may benefit from a pause. Faster cuts are useful when they serve the material; speed alone does not make an edit engaging.
Sound finishing makes dialogue easier to follow and keeps music from competing with speech. Image finishing helps shots look consistent and supports the atmosphere. Titles and graphics should explain something the audience needs to know.
Software such as DaVinci Resolve brings editing, color correction, visual effects, graphics, and audio work into one application. The important skill is knowing what the sequence needs, then using the tools to achieve it.
For a closer look at pacing and viewer attention, explore High-Retention Editing: The Science of Keeping Viewers Watching.
Preparing Your Video for Release
Watch the finished export from beginning to end. Check sound levels, spelling, graphics, captions, picture quality, and the opening and closing frames. Review it on a phone as well as a larger screen when those devices matter to your audience.
Match the export to its destination. A widescreen episode, a vertical clip, and a client presentation may need different versions. Keep graphics readable in each layout rather than assuming one file will suit every use.
Choose a title and thumbnail that accurately communicate the subject. Write a useful description, include relevant links, and keep an organized master copy alongside the project files and source footage.
Production connects here with Independent Broadcasting, which explores how independently produced work reaches viewers.
Building a Repeatable Production Workflow
A recurring show benefits from decisions you can reuse: camera positions, lighting setups, audio settings, folder structures, graphics, and delivery checklists.
Record what works. After each project, identify one improvement for the next production. Perhaps the introduction took too long, the microphone needed a better position, or a missing close-up made an explanation difficult to edit.
For equipment and connected production tools, explore Media Technology. For planning the business around your work, visit Creator Business.
Frequently Asked Questions
Can I produce professional-looking video at home?
Yes. A controlled background, clear sound, thoughtful lighting, and careful framing can support polished work in a modest space. The result depends on the production choices and the demands of the project.
Do I need expensive equipment to begin?
No. Begin with equipment that can record the material your project needs. Upgrade when a specific limitation prevents you from achieving the intended result.
What should I learn first?
Start with planning a simple video, recording understandable speech, framing a clear image, and editing a sequence that makes sense. Complete small projects and build from the problems you encounter.
Bring Your Next Idea to the Screen
Choose one manageable project: a short explanation, a demonstration, or a scene. Plan what viewers need, record the essential material, and finish the edit. Each completed production gives you a clearer understanding of how your ideas become work an audience can experience.
Sources
Video Production Guides and Related Articles

Shot Coverage: Record What Your Edit Will Need
Shot Coverage: Record What Your Edit Will Need You recorded the explanation, delivered the important points, and remembered to check the sound. Then you start editing and realize the viewer cannot see the detail you are describing. The camera was too far away, your hand blocked the action, or an [...]
Practical Home-Studio Lighting
Practical Home-Studio Lighting: Make a Simple Setup Look Better Your camera is ready, the background is tidy, and the presentation makes sense. But the picture still feels flat, your face has heavy shadows, or a bright window pulls attention away from everything you are saying. The answer may be the [...]
Clear Dialogue: Better Sound Editing
Clear Dialogue: Get Better Sound Before You Start Editing You finish recording a useful video, bring it into the editor, and hear the problem: your voice sounds distant, the room echoes, or a steady hum sits underneath every sentence. Audio repair tools can help, but the easier starting point is [...]

Plan Your Home-Studio Shoot
Plan Your Home-Studio Shoot Before You Press Record You have an idea, a camera, and a space to record. It is tempting to switch everything on and start talking. But a little preparation can prevent the problems that turn a short recording session into an afternoon of retakes. Home-studio planning [...]

High-Retention Editing: The Science of Keeping Viewers Watching
Getting someone to click on a video is only half the battle. The real challenge is keeping them watching. That is where high-retention editing comes in. High-retention editing is the process of cutting and structuring video so viewers continually have a reason to stay. It combines storytelling, psychology, pacing, sound, [...]