


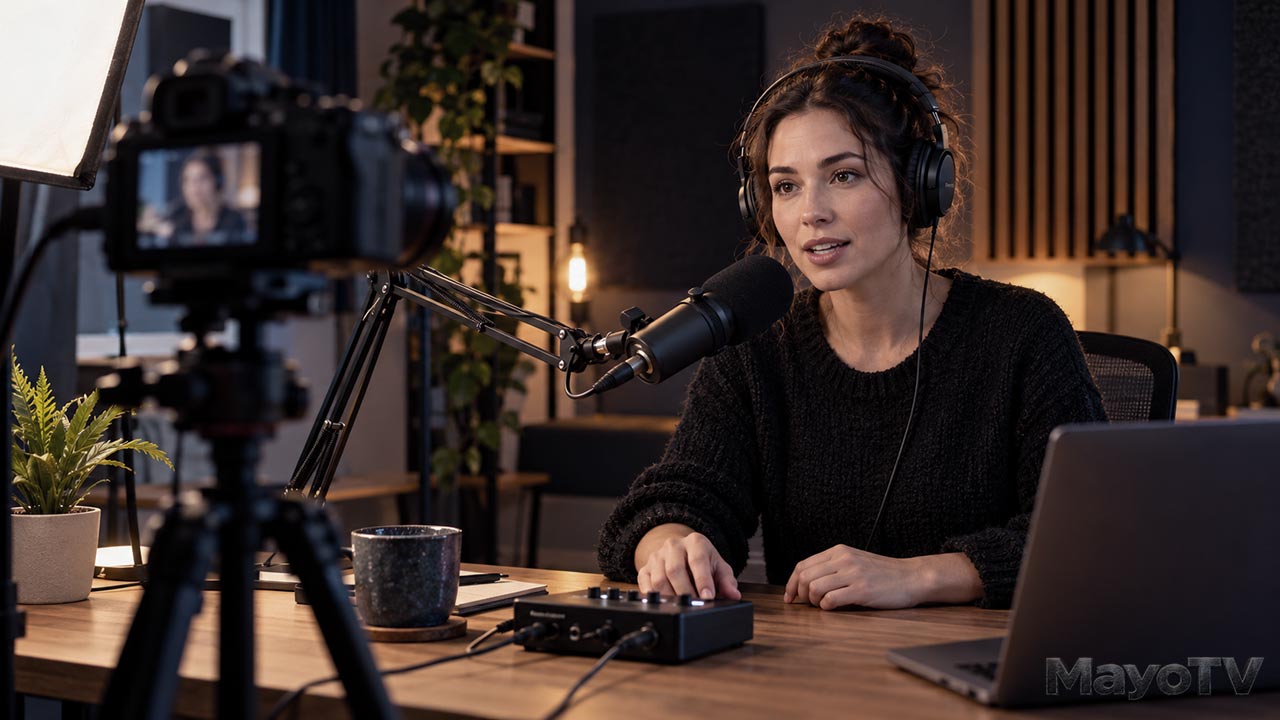
Clear Dialogue: Get Better Sound Before You Start Editing
You finish recording a useful video, bring it into the editor, and hear the problem: your voice sounds distant, the room echoes, or a steady hum sits underneath every sentence.
Audio repair tools can help, but the easier starting point is the recording itself. A little attention to the room, microphone, and recording level can reduce the amount of cleanup your dialogue needs.
For a home-studio producer, clear dialogue begins with a simple goal: make the speaker easy to understand without forcing the audience to concentrate on the sound. Before recording the full presentation, work through these practical checks.
Listen to the Room First
Stand or sit where you plan to speak and listen without talking. Notice the computer fan, air conditioner, refrigerator, traffic, and activity elsewhere in the home.
Then record a short sample. A microphone may reveal background sounds you stopped noticing. Shure recommends testing different microphone positions and directions to find a quieter recording arrangement.
Address the sources you can control. Move away from a noisy computer, close a window, or choose a quieter recording time. Keep necessary equipment ventilated rather than covering it to reduce fan noise.
If interruptions are likely, record in short sections. It is easier to repeat one paragraph than an entire presentation.
Put the Microphone Where It Can Hear You
A camera positioned for a good picture may be too far away for its microphone to capture clear speech. Bringing a suitable microphone nearer the speaker helps improve the balance between the voice and surrounding sound.
Use the microphone’s instructions as your starting point. Some models receive sound from the end; others receive it from the side. A microphone aimed incorrectly can give disappointing results even when it looks close enough.
For a desk setup, position the microphone so you can speak comfortably without leaning forward. For a small clip-on microphone, check that clothing, jewelry, or the cable does not rub against it.
Maintain a reasonably consistent speaking distance. Turning away or leaning back can change the sound between sentences. Rehearse the movements your demonstration requires and listen for changes.
Reduce Room Echo
Bare walls, hard floors, and other reflective surfaces can make speech sound roomy. What people call echo may be overlapping reflections, or reverberation, rather than one distinct repeat of the voice.
Try a different position or room before buying equipment. A furnished space may provide a more useful starting point than an empty one. RØDE notes that thick, padded materials can help reduce room reflections.
Curtains, rugs, or suitable acoustic treatment may improve the recording environment, but reducing reflections is different from blocking outside noise. A room with less reverberation can still admit traffic through a window.
Compare recordings after each change. Listen for clearer words and shorter lingering sound after you stop speaking.
Control Pops, Rumbles, and Handling Noise
Words beginning with sounds such as “p” and “b” can send bursts of air toward the microphone. A suitable pop filter or a small change in position may reduce these unwanted thumps.
Avoid placing the microphone where normal desk movements travel into its stand. Typing, tapping the table, or setting down a cup can become part of the recording.
Check cables and clothing while making the movements you expect to use on camera. A quiet seated test does not reveal the same problems as reaching across a desk to demonstrate a device.
Leave Room for Louder Speech
Set the recording level using your actual presentation voice, including the loudest moments you expect. Gain is the control that adjusts signal amplification; setting it too high can overload parts of the recording chain.
Watch the meter and listen. Clipping means a signal exceeds a stage’s available range, which can produce distortion. RØDE explains that overload can occur at the microphone as well as elsewhere in the system.
Keep some margin for an unexpected louder word. Do not try to make every sentence reach the top of the meter. Recording levels and final playback loudness are separate decisions.
Check the Recorded File
Headphones help you notice noise, distortion, and microphone problems during setup. Playback is essential, too: hearing yourself through a monitoring connection does not prove the intended sound was recorded.
Record a short passage, stop, and play back the file. Confirm that the correct microphone was selected and that both the normal explanation and louder phrases are usable.
Change one thing at a time and repeat the test. This helps you identify what actually improved the sound.
Your Clear-Dialogue Checklist
Before filming the complete video, confirm:
- The recording location is reasonably quiet.
- The microphone faces the correct direction.
- Speaking distance is comfortable and consistent.
- Clothing, cables, and desk movements do not create noise.
- Loud phrases leave recording headroom.
- A recorded test has been played back through headphones.
Clear dialogue supports every part of a production. For the wider workflow, explore Video Production: From Idea to Screen. A few minutes spent listening before the shoot can save repeated troubleshooting during the edit.










Leave A Comment