


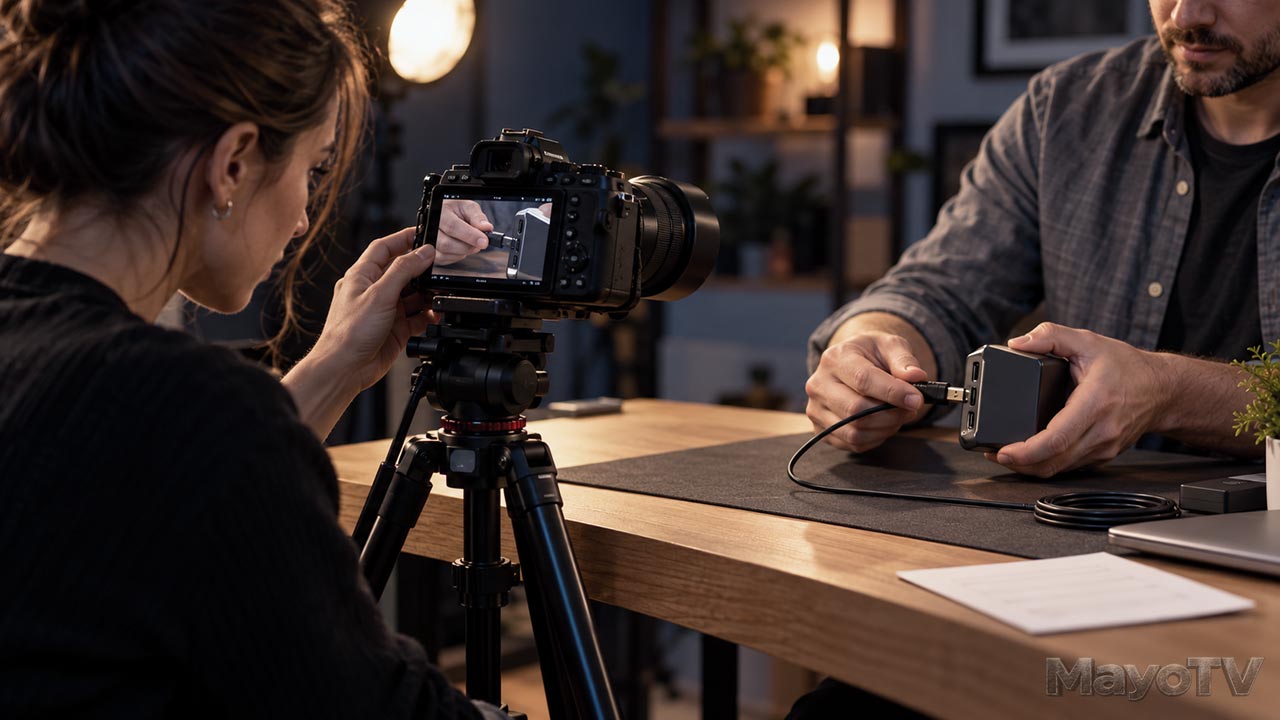
Shot Coverage: Record What Your Edit Will Need
You recorded the explanation, delivered the important points, and remembered to check the sound. Then you start editing and realize the viewer cannot see the detail you are describing. The camera was too far away, your hand blocked the action, or an essential step happened outside the frame.
Shot coverage is the collection of views you record to explain an action or tell a story. It gives you material to choose from when building the finished sequence.
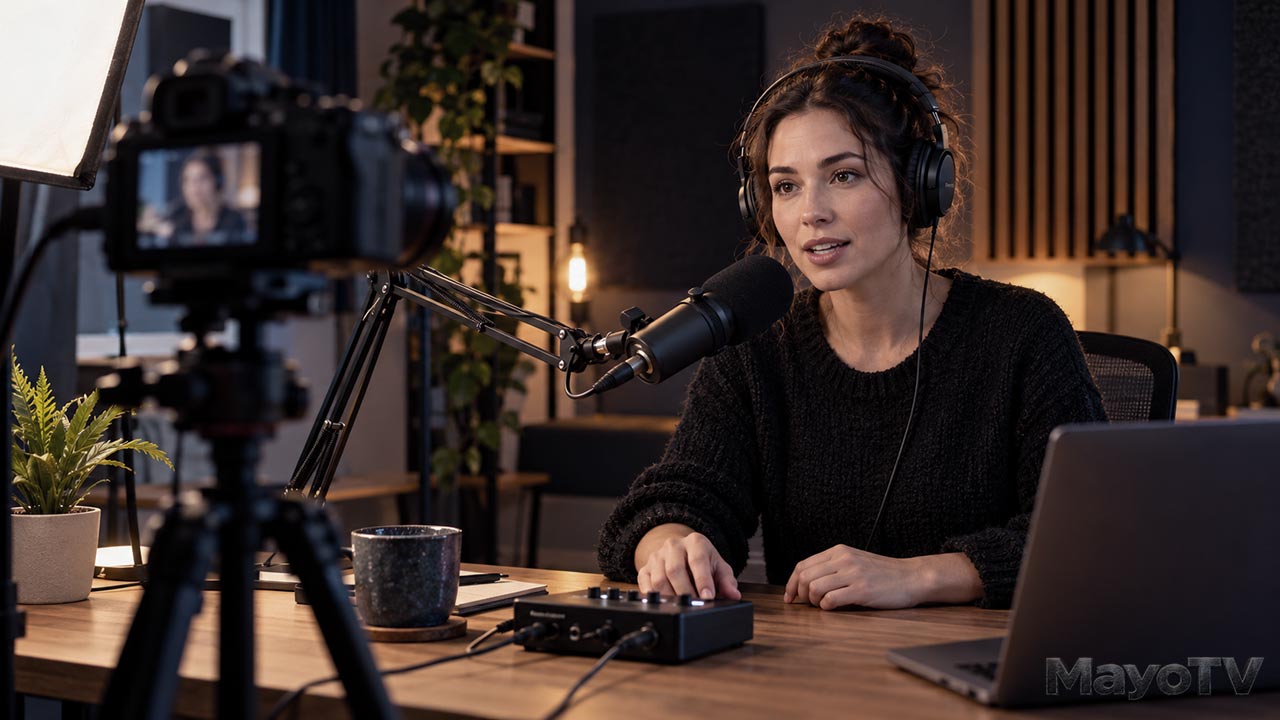
For a home-studio video, coverage does not require several cameras. You can record a main presentation, reposition one camera, and capture the details afterward. The useful question is: what will the viewer need to see at each point?
Plan the Pictures Alongside the Explanation
Read your script or outline and identify the moments that need visual evidence. If you say “connect this cable,” the audience should see the connector, the correct socket, and the connection being made.
Write those views into a short shot list. Adobe describes a shot list as a way to plan the coverage an editor needs for a coherent story.
Separate essential pictures from optional ones. A clear view of a crucial step matters more than an attractive extra angle that explains nothing.
Consider the action’s beginning and end. Showing a finished connection without showing how it was made may leave a beginner unable to repeat the process.
Give Each Shot a Job
A wider view establishes the setup. In a tabletop demonstration, it might show the presenter, work surface, and equipment so viewers understand where the action happens.
A medium shot keeps the person and their movements readable. It can carry an explanation while showing how the presenter handles the object.
A close-up directs attention to a particular detail: the connector, a control, a label, or the result of an adjustment.
Supporting footage, often called B-roll, gives you additional relevant pictures to use alongside the main presentation. It might show the device operating while the explanation continues.
Choose framing around the information. You do not need every possible shot size in every video, and a close-up is useful only when it shows something the viewer needs.
Try a Simple Demonstration Sequence
Imagine recording a video about connecting an external microphone to a camera. Your coverage could include:
- A wider shot introducing the camera and microphone.
- A medium shot of the presenter explaining the connection.
- A close-up showing the cable and intended input.
- A close-up of the connection being made.
- A view of the recording indicator or level meter confirming the test.
- A closing presentation shot explaining the next check.
Watch the close-ups before moving on. Make sure the connector stays visible, the detail is in focus, and fingers do not hide the socket.
If the camera’s own display is difficult to film, decide how you will show that information clearly. Do not rely on a tiny screen remaining readable in a wide shot.
Keep Repeated Actions Consistent
When you repeat an action for another angle, preserve the details that connect the shots. This is continuity: the sense that the action follows naturally across an edit.
Notice which hand holds the cable, where the camera sits on the desk, and whether the microphone is connected or disconnected. Take a reference photograph if the arrangement is easy to forget.
Record the action from a matching starting position. Give yourself some movement before and after the moment you expect to use, so the edit has room to join the shots.
A demonstration can repeat a step for clarity, but keep the sequence truthful. Do not use a successful result to imply that a different setup worked, or rearrange steps in a way that misleads the viewer.
Leave Space Around Each Take
Avoid stopping the recording immediately after the useful moment. Hold the starting view briefly, perform the action, and hold the finished position before ending the take.
Those extra moments give you flexibility when trimming. The exact duration depends on the action and the pace you want; there is no universal number of seconds required.
Keep the camera steady when movement adds no information. Let the subject’s action provide the movement, and keep important details inside the frame.
Record Useful Editing Options
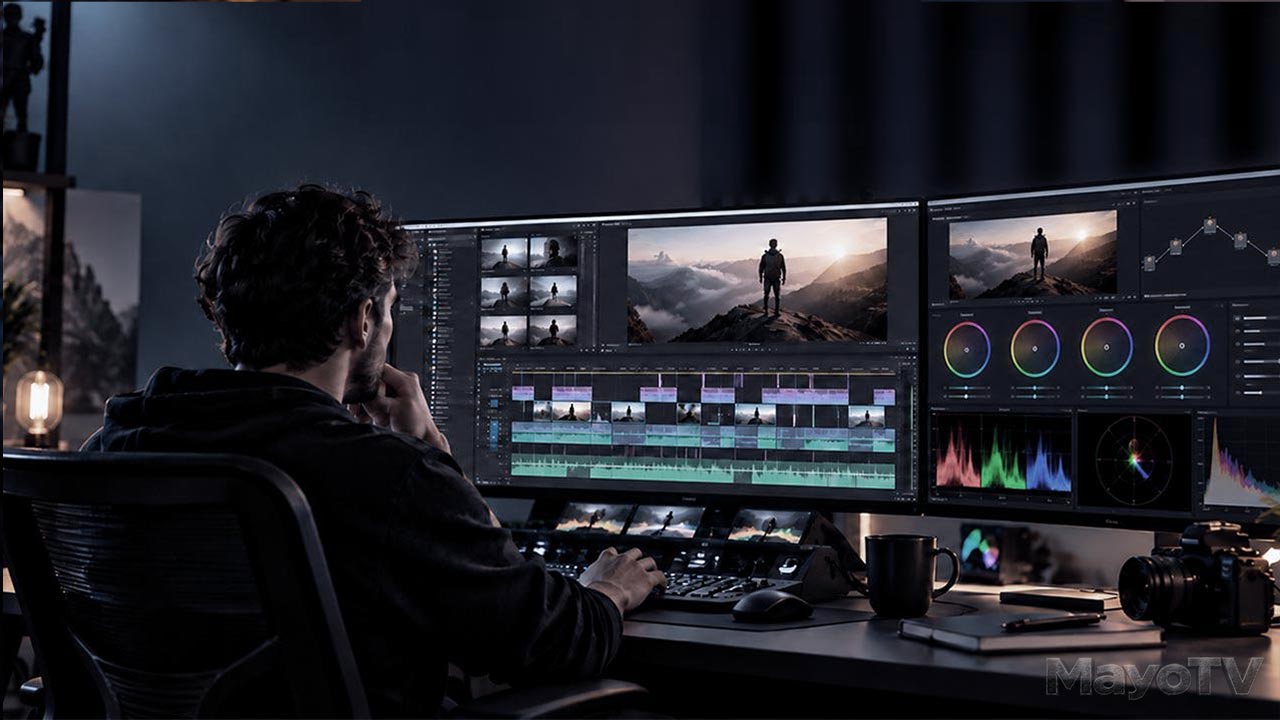
A relevant close-up can cover a cut while the spoken explanation continues. This helps you remove a pause or join usable sections without always showing an abrupt change in the presenter shot.
It does not replace missing information or unusable dialogue. Capture the main explanation clearly, then record supporting pictures that belong with it.
Before packing away, review the essential shots against your list. Look for missing steps, blocked details, and recordings that ended too soon.
Your Coverage Checklist
Confirm that you have:
- A view establishing the setup.
- Clear coverage of every essential action.
- Close-ups of details the audience must understand.
- Consistent positions and actions across repeated takes.
- Space before and after useful moments.
- Relevant supporting footage for the edit.
For the wider workflow, explore Video Production: From Idea to Screen. Plan coverage around understanding, and your edit will have a clearer path from explanation to visible proof.









Leave A Comment