



Plan Your Home-Studio Shoot Before You Press Record
You have an idea, a camera, and a space to record. It is tempting to switch everything on and start talking. But a little preparation can prevent the problems that turn a short recording session into an afternoon of retakes.
Home-studio planning does not need to resemble a complicated film production. You need to know what you are making, what must appear on screen, and whether the space and equipment are ready to capture it.
Think of the plan as a way to protect your attention. When recording begins, you should be able to concentrate on the presentation instead of searching for a cable, rearranging the background, or discovering that an essential close-up was never filmed.
Decide What the Video Must Deliver
Before touching the equipment, write one sentence explaining the purpose of the video. For example: “Show a beginner how to connect an external microphone and confirm that it is recording.”
That sentence gives the production a clear boundary. You can decide which details belong and which deserve a separate video.
Identify who is watching, what they already know, and what they should understand afterward. Then choose a format: a seated explanation, a tabletop demonstration, an interview, or a combination.
If you have a finished script, read it aloud. Check whether the wording sounds natural and whether each action can actually be shown. If you prefer an outline, list the points in the order the viewer needs them.
Turn the Script into a Shot List
A script describes what happens. A shot list identifies the pictures you need to record.
For the microphone demonstration, your list might include:
- A medium shot introducing the problem.
- A close-up of the microphone and its connector.
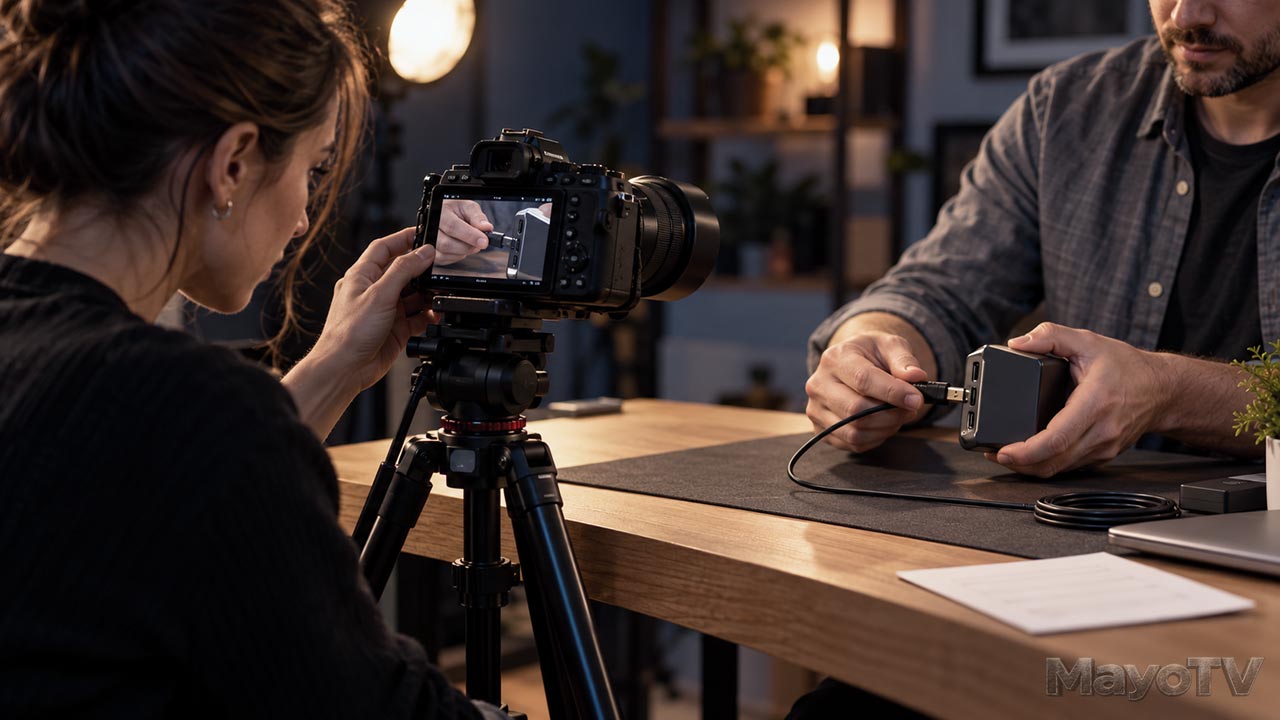
- A clear view of the connection being made.
- A shot showing how to confirm that sound is being recorded.
- A closing explanation of what the viewer should check.
Write down any props or screen recordings required for each shot. Mark the essential shots so you know what must be completed before the session ends.
You do not have to film everything in the final viewing order. Recording similar setups together can reduce the time spent repositioning the camera and lights.
Prepare the Space Before the Presenter
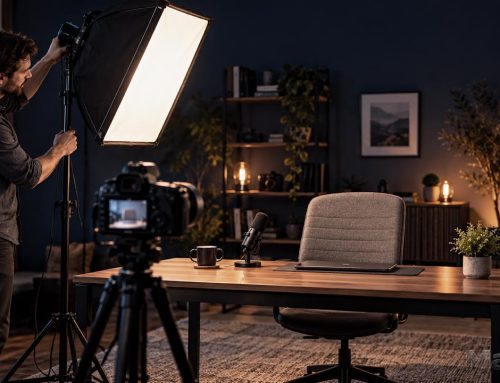
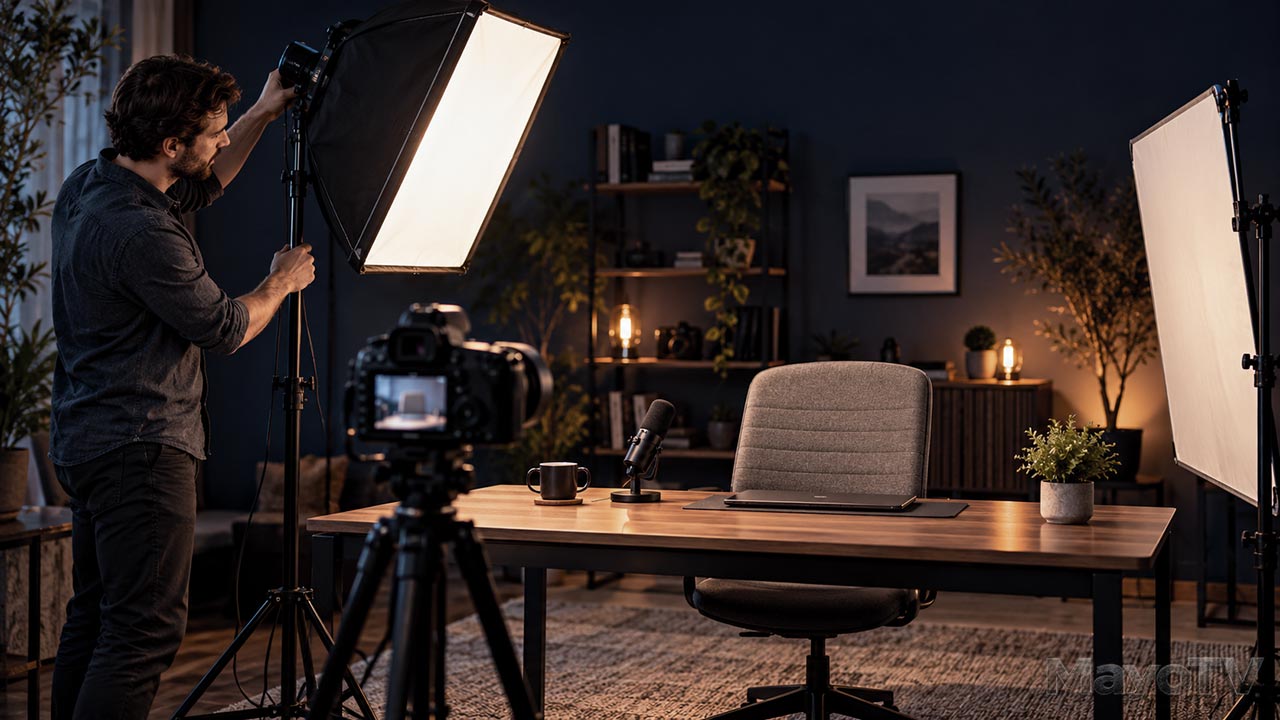
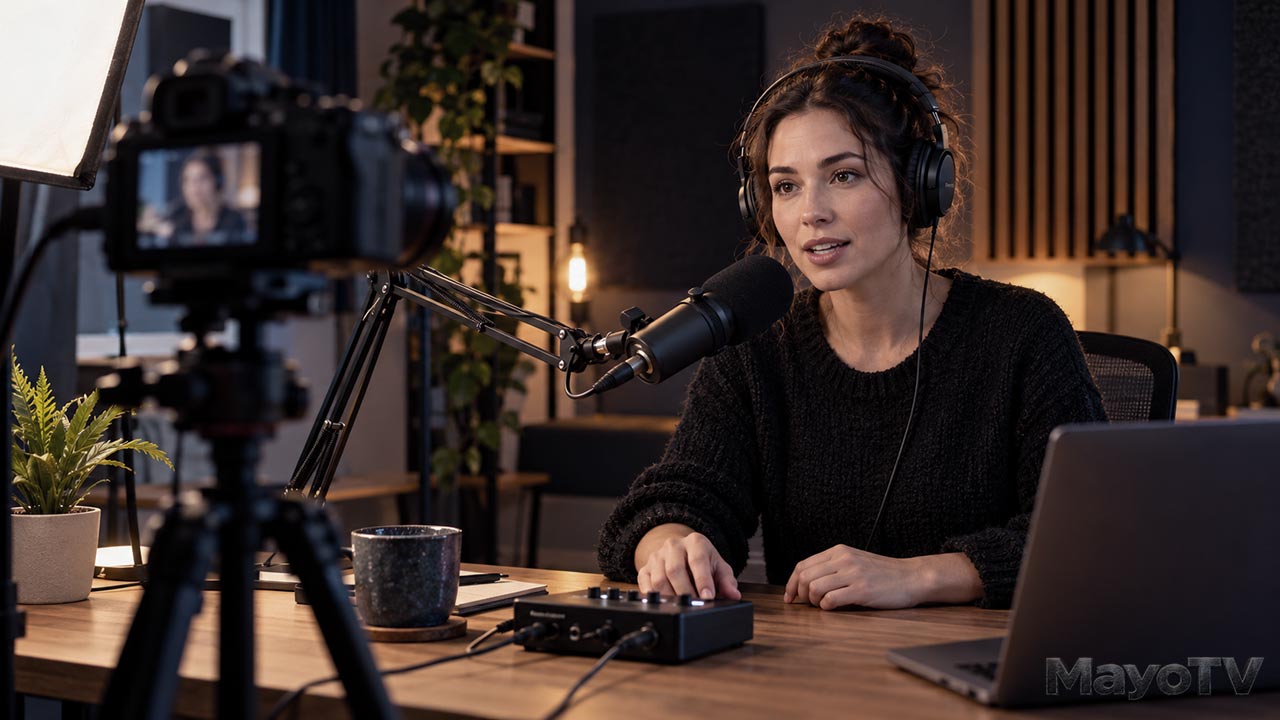
Look through the camera at the recording area. The frame may reveal distractions you barely notice when standing in the room: a bright window, a trailing cable, a reflective surface, or clutter behind the subject.
Choose a background that supports the presentation. Leave enough room for the presenter to move and for demonstration items to remain visible.
Listen to the room, too. Fans, appliances, traffic, and household activity can interfere with speech. Choose a suitable recording time and address the noise you can control.
Check the light at the time you expect to shoot. If daylight contributes to the scene, consider how changes could affect different takes. For a repeatable setup, record your camera and light positions with a quick photograph or simple notes.
Run a Complete Equipment Test
Test the setup as a connected system. A camera that powers on and a microphone that works separately do not prove that your recording will contain usable sound.
Confirm the camera position, framing, focus, and exposure. Check batteries or power connections and the available recording space. Make sure the microphone is connected to the intended recording device.
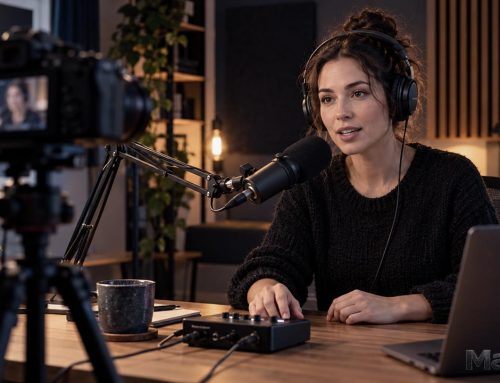
Record a short sample using the actual presentation position and speaking voice. Play it back and listen through headphones. Check for room echo, distortion, clothing noise, or a microphone that was not recording.
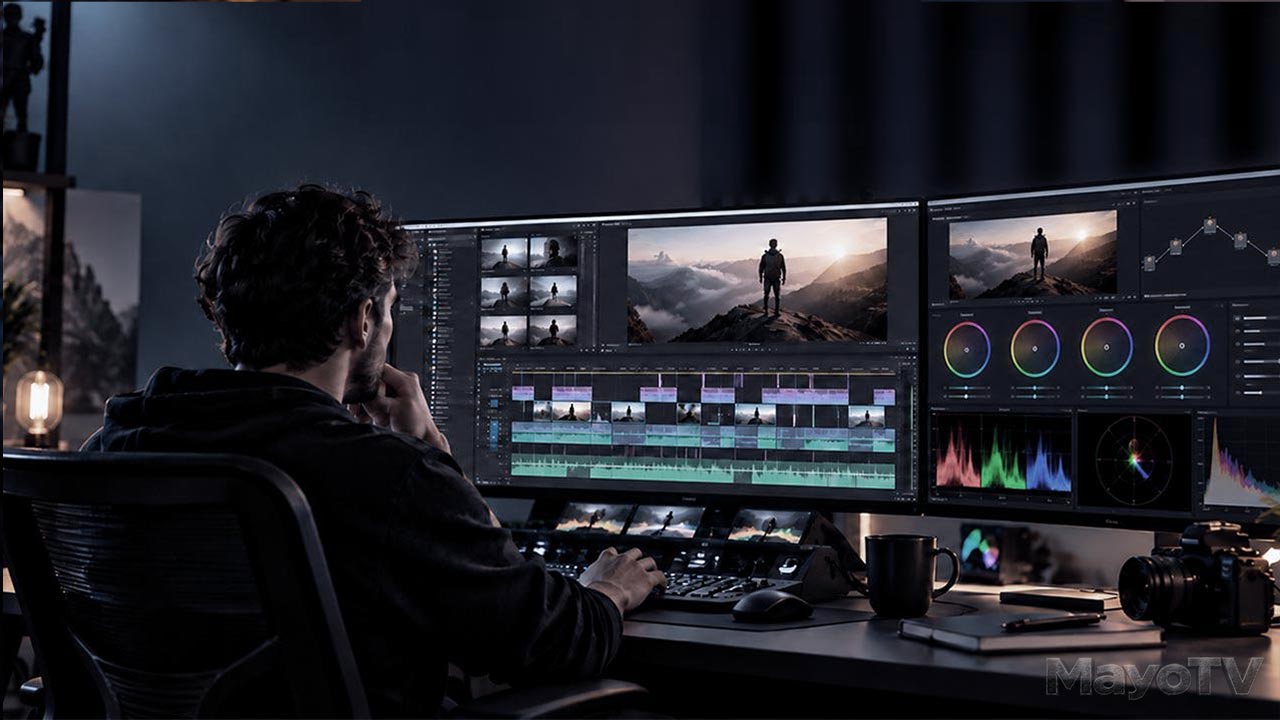
View the sample on the editing computer if the workflow is unfamiliar. Confirm that the file opens and the picture and sound are usable before recording the complete presentation.
Give the Shoot a Realistic Schedule
Separate setup, testing, recording, and packing away. Include room for mistakes and another take of an important section.
Keep water, notes, and essential props within reach but outside the frame when appropriate. Tell other people in the home when you need a quiet period.
Plan where the files will go after recording. Use a project folder you can recognize, and make an additional copy before clearing the recording media. Confirm the copied files are usable.
Your Pre-Shoot Checklist
Before pressing record, confirm:
- The purpose and audience are clear.
- The script or outline is ready.
- Essential shots and props are listed.
- The background and recording space are prepared.
- Camera, lighting, and microphone positions are checked.
- Power and recording space are available.
- A test clip has been watched and heard.
- Time is reserved for retakes.
- Project folders and the backup destination are ready.
Start with a Plan You Can Repeat
Your first plan does not need to be elaborate. It needs to help you finish the video with the material you intended to capture.
After the session, note what you forgot or had to change. Use those observations to improve the next checklist. For a broader view of planning, filming, editing, and delivery, explore our Video Production: From Idea to Screen guide.








Leave A Comment