


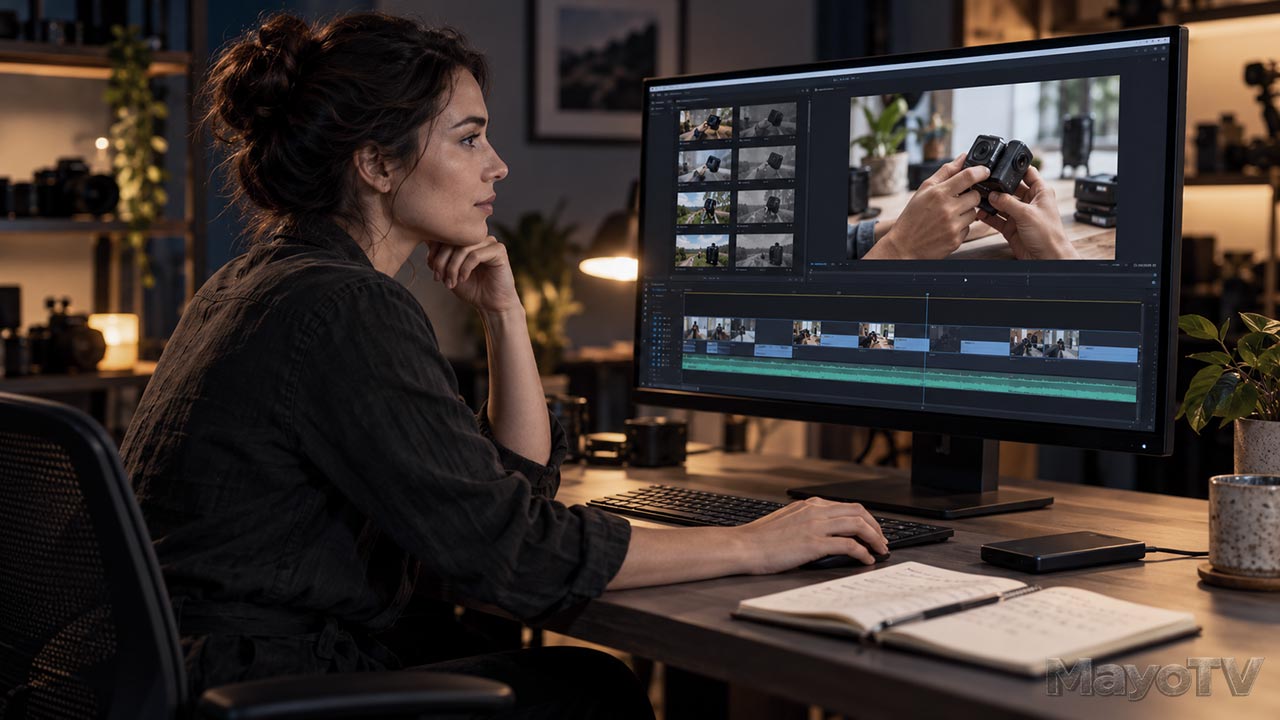
Slow Editing Playback? Build a Simple Proxy Workflow
You press play in the editor, but the picture stutters while the sound continues. Scrubbing through footage feels sluggish, and every decision takes longer than it should.
Before replacing the computer, check whether the source footage is difficult for it to play. High-resolution recordings and demanding compression formats can make editing harder, even when the files do not appear especially large.
A proxy workflow gives you another way to work. You edit using easier-to-play copies while keeping the original recordings available for finishing and export. The goal is smoother decision-making without sacrificing the source material you captured.
Understand What a Proxy Is
A proxy is an alternative version of a source clip, linked to that clip inside the editing application. It may use a lower resolution, a different codec, or both. A codec is the method used to encode and decode the video.
You still make the same editing decisions: choosing takes, trimming clips, arranging scenes, and building the story. The editor refers to the linked media version selected for playback.
Proxies are working copies, not replacements for your originals or a complete backup. A lightweight version may lack the detail or image information needed for final finishing.
Check Whether Proxies Address the Problem
Test a source clip in a simple timeline without demanding effects. If basic playback struggles, proxies may help reduce the work involved in reading and decoding the footage.
If playback becomes slow only after adding noise reduction, complex graphics, or other effects, proxies may not solve the main bottleneck. Render caching or temporarily disabling demanding processing may be more useful.
Also check where the footage is stored. A slow or unreliable drive connection can interfere with playback. Putting new proxy files on the same problematic storage path may leave part of the problem unchanged.
Identify the limitation before generating proxies for the entire project.
Organize the Originals First
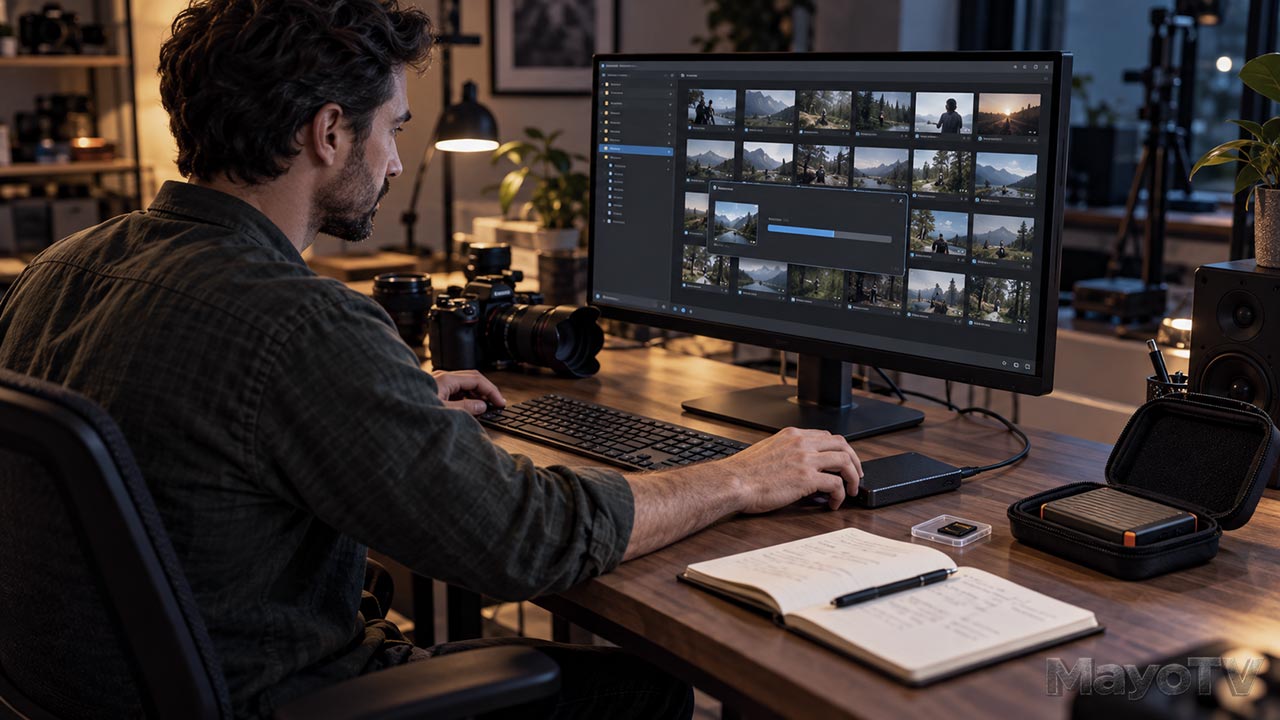
Copy the camera recordings into a clearly named project folder and make an additional verified copy before clearing the recording media. Preserve the camera’s folder structure where your format requires it.
Import the originals into the editor. Avoid casually renaming or moving them afterward, because the project uses file locations and identifying information to find its media.
Choose a predictable location for proxies, using the application’s supported workflow. Keep the distinction between originals, proxies, project files, and exports clear.
Do not overwrite an original recording when creating a working copy.
Generate a Small Test Batch
Start with a few representative clips. Include material that usually causes trouble: a long recording, a demanding camera format, or a clip used in a multicamera sequence.
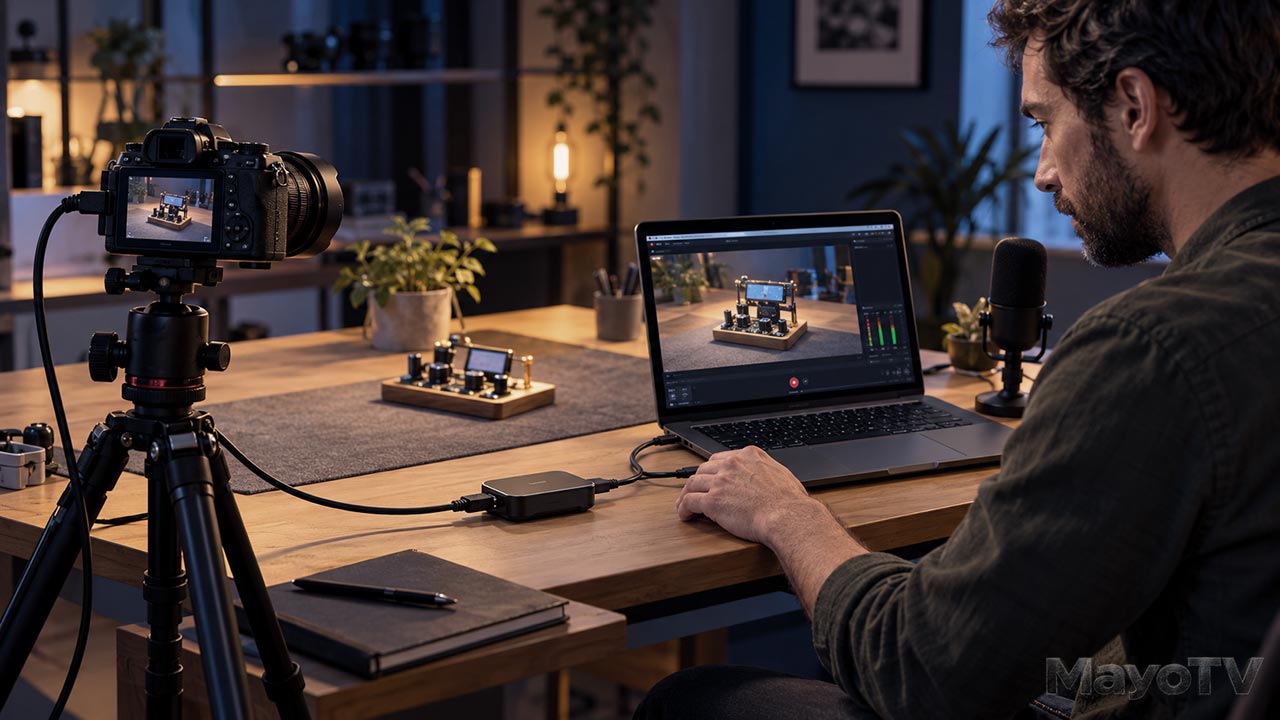
Use the editor’s proxy tools or a compatible proxy generator. Blackmagic Design describes its Proxy Generator as creating proxies from camera originals and linking them automatically in DaVinci Resolve. Adobe Premiere also provides proxy creation and attachment workflows.
Choose a preset appropriate to your application and computer. Lower resolution can reduce the workload, while an editing-friendly codec may make decoding easier. Proxy files are not guaranteed to be smaller than every original; format and compression choices affect storage needs.
Check that the test proxies have the correct duration, frame rate, and audio configuration. Use the application’s requirements when creating them outside the editor.
Confirm the Links and Compare Playback
Enable proxy playback using the editor’s proxy controls. Check its proxy status rather than assuming the smaller file was attached correctly.
Compare the same section with proxies enabled and disabled. Look for smoother playback and more responsive navigation. Confirm that the picture represents the correct take and that the sound remains aligned.
Do not import proxies as unrelated clips and manually rebuild the sequence unless you deliberately chose a workflow that requires it. Linking working copies to the originals makes switching versions easier to manage.
Once the test works, generate proxies for the remaining footage that needs them. Leave enough time and storage for that processing stage.
Return to Originals for Finishing
Use the original media when checking fine focus, image detail, and final color. A lower-resolution working copy can hide problems that become visible in the finished video.
Before export, confirm that all required original files are online and correctly linked. Check the application’s export options for settings that permit using proxies or rendered previews.
Adobe states that Premiere normally exports using full-resolution media even when proxy playback is enabled, but it also provides an explicit option to export proxies. Do not assume every application or preset behaves identically.
Export a short representative section first. Review it for picture detail, framing, sound, and missing media before committing to the full delivery file.
Your Proxy Workflow Checklist
Confirm that:
- Original recordings are organized and backed up.
- A test batch improves the playback problem.
- Proxies match and link to the correct source clips.
- Audio stays synchronized.
- Original media is available for finishing.
- Export settings use the intended media version.
- A sample export has been reviewed.
For the wider relationship between computers, software, and storage, explore Media Technology: The Tools Behind Independent Content. A useful proxy workflow makes editing easier while keeping the path back to your original footage clear.









Leave A Comment