


Connect Your Home Studio Without Creating a Troubleshooting Nightmare
Your camera, microphone, computer, and recording software each work. But when you connect everything, the picture freezes, the sound doubles, or the application selects a device you did not intend to use.
A home studio becomes easier to manage when its connections have a clear purpose. You need to know where each signal starts, which equipment handles it, and where you will check the result.
Before adding another adapter or changing several settings, build a simple connection plan. Then test the system in stages so a problem has somewhere specific to hide.
Define the Setup You Actually Need
Start with the production, not the equipment collection. A single-camera presenter video may need one picture source, one microphone, a computer, and headphones. It does not automatically need a mixer or video switcher.
A switcher selects between video sources and may provide a combined program output. An audio interface brings suitable audio signals into the computer and may also provide monitoring outputs. Their exact functions depend on the devices.
Write down what the session requires: recording, streaming, screen sharing, multiple cameras, or some combination. Add a component when it serves that job and its connections are understood.
Map Picture, Sound, and Monitoring
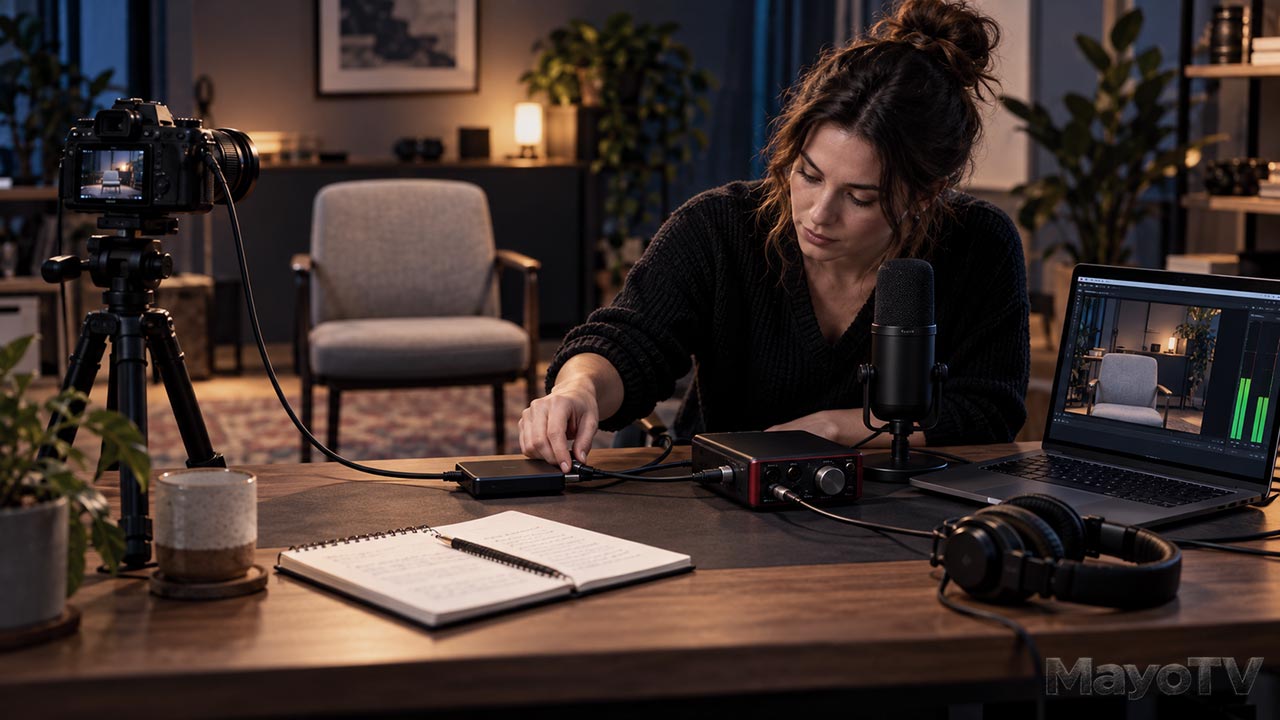
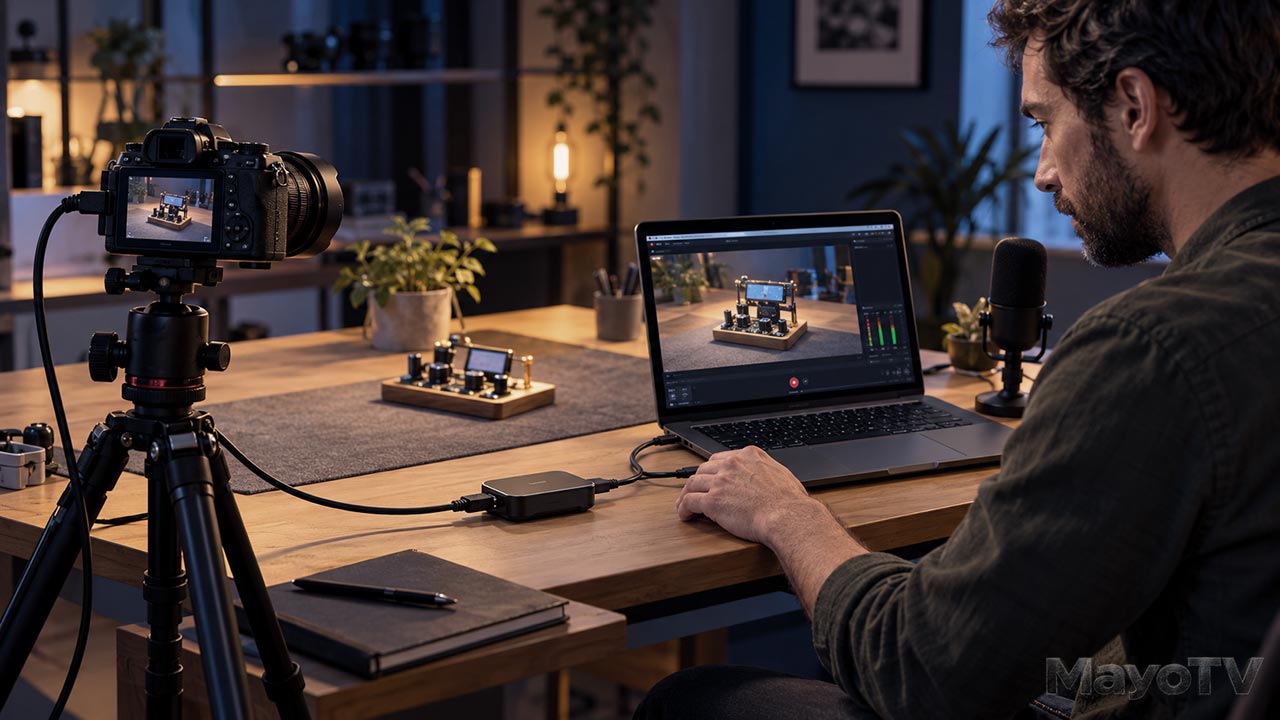
Make a short connection map in your notebook. For a basic setup, the picture might travel from the camera’s HDMI output to a capture device, then through USB to the computer.
Sound might travel from an XLR microphone to an audio interface, then through USB to the same computer. Headphones connected to a suitable monitoring output let you listen to the selected signal.
Treat monitoring as its own route. Hearing the microphone directly through an interface does not prove that the recording software is receiving or saving it.
For each connection, note the sending device, receiving device, port, and cable. This makes it easier to retrace the route when the picture or sound disappears.
Check More Than the Connector Shape
A cable that fits is not proof of compatibility. Confirm whether a port is an input or output, which signal it handles, and which formats it supports.
For video, check the camera’s output against the capture device’s supported resolution and frame rate. If a switcher sits between them, include its requirements in the check.
For audio, match the source to the correct input type. Microphone, line, and instrument inputs serve different signals. Focusrite’s interface documentation distinguishes these connections and their supported cables; consult the guide for your own device rather than assuming every socket behaves alike.
For USB devices, use the required port and a suitable data cable. Power delivery alone does not establish that a connection can carry the video or audio you need.
Connect and Test One Stage at a Time
Begin with the simplest useful system. Connect the camera and capture device, select the intended source in the application, and confirm a stable picture.
Next, connect the microphone route. Select that device explicitly where possible and make a short spoken recording. Play back the file before adding more sources.
Introduce a switcher, second camera, or extra audio source only after the basic setup works. Keep a note of the last successful configuration.
If something fails, change one connection or setting and test again. Replacing cables, changing formats, and adjusting software together may restore operation without revealing what caused the problem.
Avoid Duplicate Audio Routes
A microphone may reach the software through an interface while the camera feed also carries sound. If both routes remain active, the recording may contain two versions of the same voice with a slight timing difference.
OBS warns that adding an audio capture source while also selecting the same device in its global audio settings can create an echo effect.
Decide which route should carry the voice and disable unintended duplicates. Also check whether monitored audio is being captured again through another source.
With separate video and audio paths, record a visible hand clap and review synchronization. A moving audio meter confirms activity, but playback tells you whether the intended result was recorded.
Manage Cables and Shared Connections
Label both ends of important cables with their purpose. Keep enough slack for normal movement without leaving loops where someone can catch a foot or pull equipment over.
Avoid forcing small camera connectors or letting a heavy cable hang from the port. Use appropriate cable support where needed.
If USB video becomes unreliable, check the manufacturer’s connection guidance. Elgato notes that high-bandwidth devices can compete for available USB bandwidth. A hub does not automatically give every connected device an independent high-speed path.
Simplify the connection during testing, then rebuild the arrangement that proves reliable.
Save a Known Working Setup
Photograph the connections, note important settings, and save the application’s configuration using its supported method. Identify a simple fallback if a nonessential component becomes unavailable.
Run a representative test after moving equipment or changing software settings. Include the actual recording drive and expected session workload.
Your Studio Connection Checklist
Confirm that:
- Every component serves the production.
- Picture, sound, and monitoring routes are documented.
- Ports, formats, and cables are compatible.
- Devices were tested in stages.
- Unintended audio duplicates are disabled.
- Cables are supported and movement paths are clear.
- A recorded sample has been watched and heard.
Explore Media Technology: The Tools Behind Independent Content for the wider production system. A studio you can explain is a studio you can troubleshoot, repeat, and improve.








Leave A Comment