


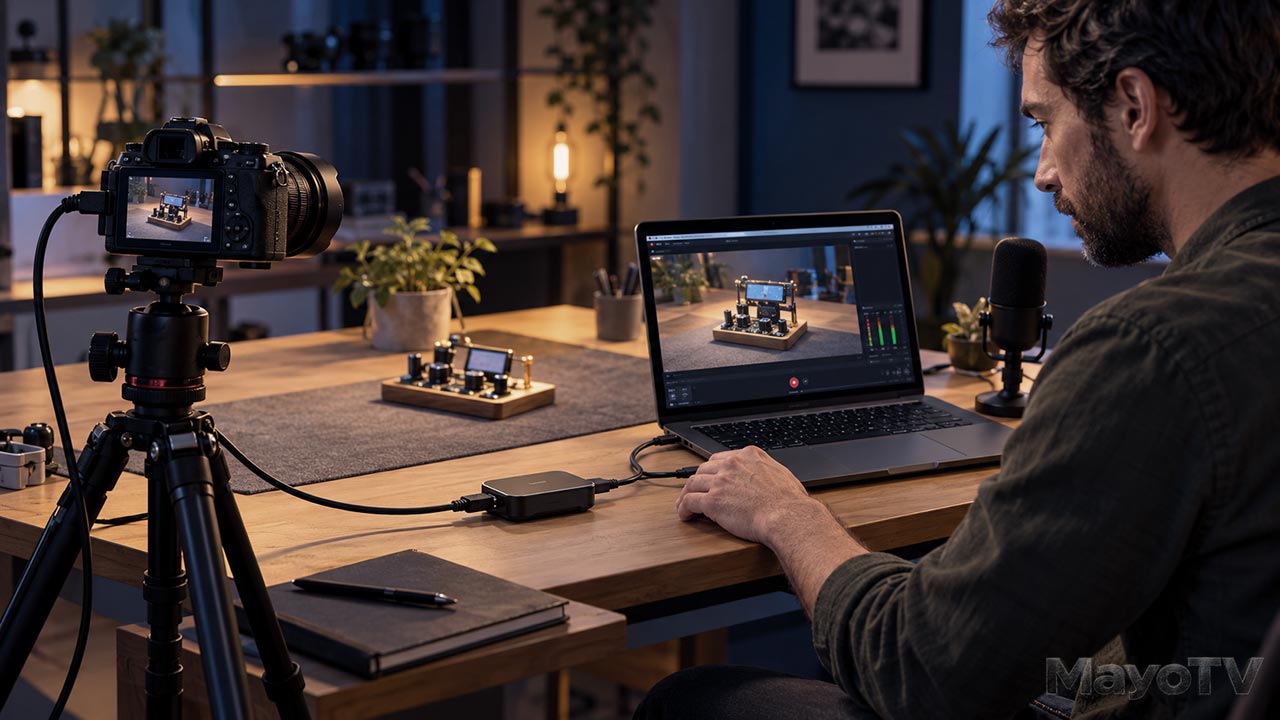
From Camera to Computer: Understand Your Video Capture Path
You connect a camera to your computer, open the recording software, and expect a picture. Instead, you get a black screen, the wrong camera, or video without sound.
The connection may look simple, but several parts have to work together. The camera must produce a compatible signal, the computer needs a way to receive it, and the software must select and record the intended sources.
Your capture path is the route the picture and sound take from the camera or microphone to the recording application. Understanding that route helps you choose connections and troubleshoot problems without changing settings at random.
Decide Where You Want to Record
There are two common starting points.
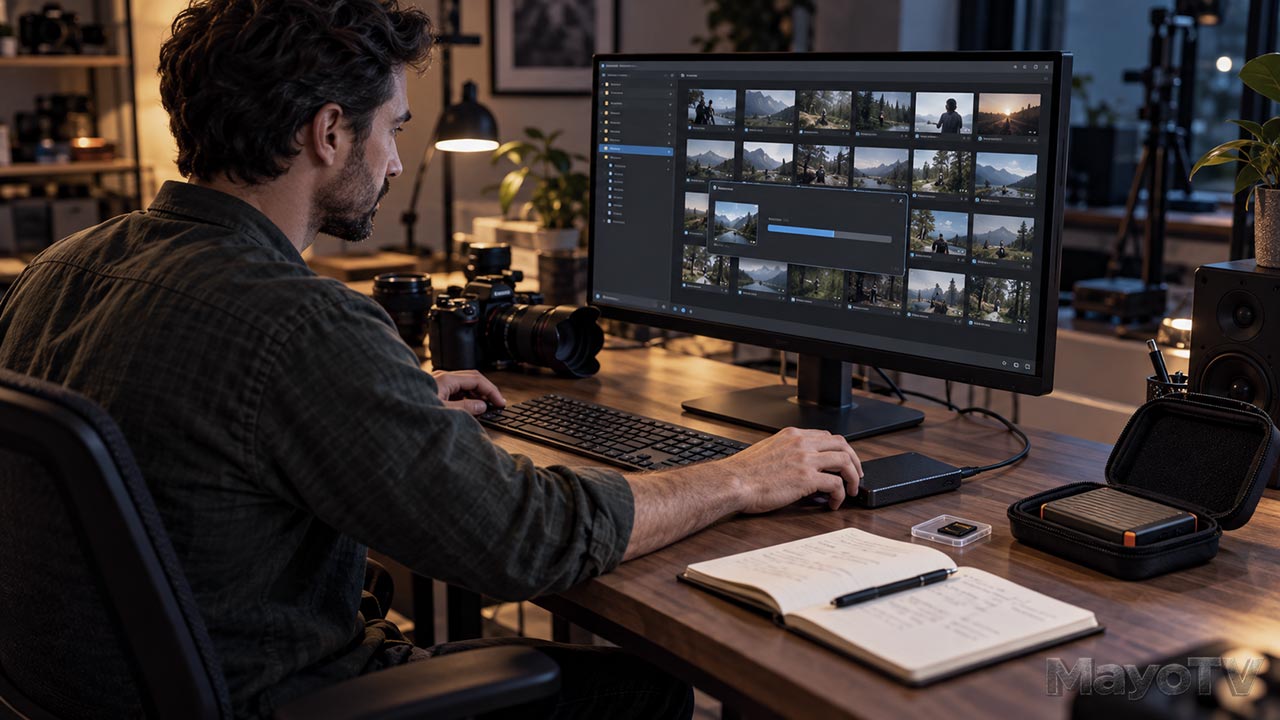
Record inside the camera. The camera stores video on its recording media. Afterward, you copy the files to the computer for editing. A card reader or supported file-transfer connection moves completed recordings; it does not necessarily provide a live camera feed.
Record on the computer. The camera sends live video to a capture device or supported USB connection. Software receives that feed and records it to computer storage.
Some setups can do both, but check your camera’s capabilities. Internal recording settings and external output settings may differ. A camera recording a particular resolution internally does not guarantee that every output connection delivers the same format.
Understand the HDMI Capture Route
A common route uses three connections:
- The camera’s HDMI output connects to the capture device’s HDMI input.
- The capture device connects to the computer through its supported interface, often USB.
- Recording software selects the capture device as a video source.
The capture device turns the incoming video into a form the computer can receive. A laptop’s HDMI socket is typically an output for a display, so it usually cannot receive the camera’s picture directly. Check the computer’s specifications before assuming otherwise.
Read the capture device’s supported input formats and actual recording or capture limits. Accepting a high-resolution input does not necessarily mean the device sends that resolution to the computer.
Use the USB port, cable, and connection speed specified for the device. Similar-looking connectors can support different capabilities.
Check the Camera’s Output
For a presenter video, you generally want a clean feed without focus boxes, battery indicators, or camera menus. This is commonly called clean HDMI. Elgato’s camera-compatibility guidance recommends checking whether those overlays can be disabled.
Confirm the output resolution and frame rate are supported by the capture device. Frame rate is the number of pictures sent each second.
Test how the camera behaves over the intended session. Check power arrangements, automatic shutdown, and any operating limits described in its manual. Also confirm whether starting internal recording changes the external feed.
A picture that appears for a moment is not proof that the complete setup will remain reliable throughout a presentation.
Know When USB Can Work Directly
Some cameras provide a USB webcam mode, while others use manufacturer software to make a live feed available. A standard USB webcam can also connect directly to the computer without an HDMI capture device.
Check the specific camera’s documentation. Its USB connection might support file transfer, charging, remote control, live video, or a combination. Do not assume that plugging it in makes it available as a webcam.
Supported resolutions, audio handling, and software requirements vary. Choose the route that fits the recording you need rather than the one with the fewest visible cables.
Follow the Audio Path Separately
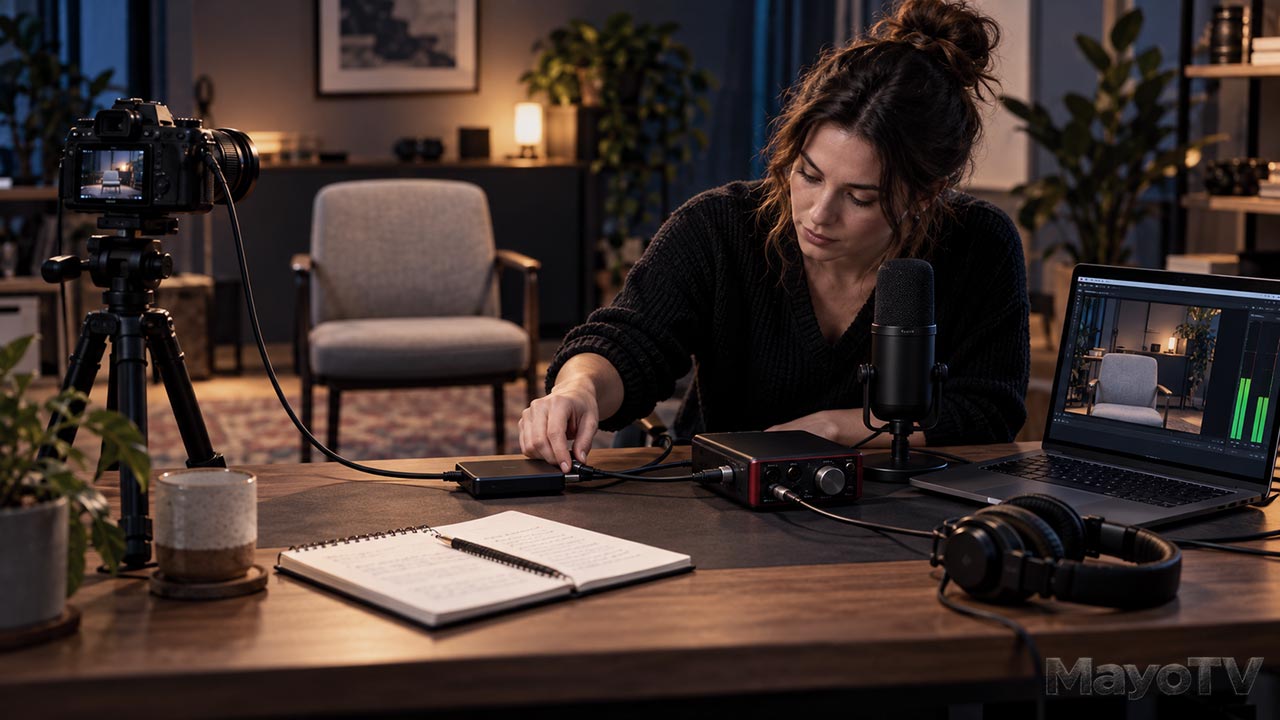
Sound may travel with the camera’s HDMI feed, or arrive through a separate USB microphone or audio interface. Identify which route you intend to use.
In OBS Studio, video capture sources can receive webcams and capture devices. Its setup guidance also recommends checking audio meters and selecting the intended audio devices manually when necessary.
Confirm the recorded sound comes from your chosen microphone. A moving meter might represent the laptop microphone instead. Avoid adding the same audio source twice, which can produce doubled sound or an echo-like result.
With separate picture and sound routes, record a visible hand clap and review synchronization. If an adjustment is needed, follow the application’s sync controls and retest before the full shoot.
Test the Recorded File
Make a short recording using the actual camera, microphone, software, and destination drive. Speak, move, and demonstrate the actions your program requires.
Stop and play back the file. Check picture quality, sound, synchronization, and whether any overlays or interruptions were recorded.
If the picture is missing, work through the path in order: camera output, cable, capture device, computer connection, then software selection. Change one thing at a time so you can identify the cause.
Your Capture-Path Checklist
Before recording, confirm:
- The recording destination is clear.
- The camera’s live output is supported.
- The capture device and computer connection are compatible.
- The software uses the intended video and audio sources.
- Power and available storage suit the session.
- A recorded test has been watched and heard.
For the wider equipment and workflow picture, explore Media Technology: The Tools Behind Independent Content. A capture setup becomes easier to manage when you can explain where every signal enters, how it travels, and where it is recorded.









Leave A Comment